

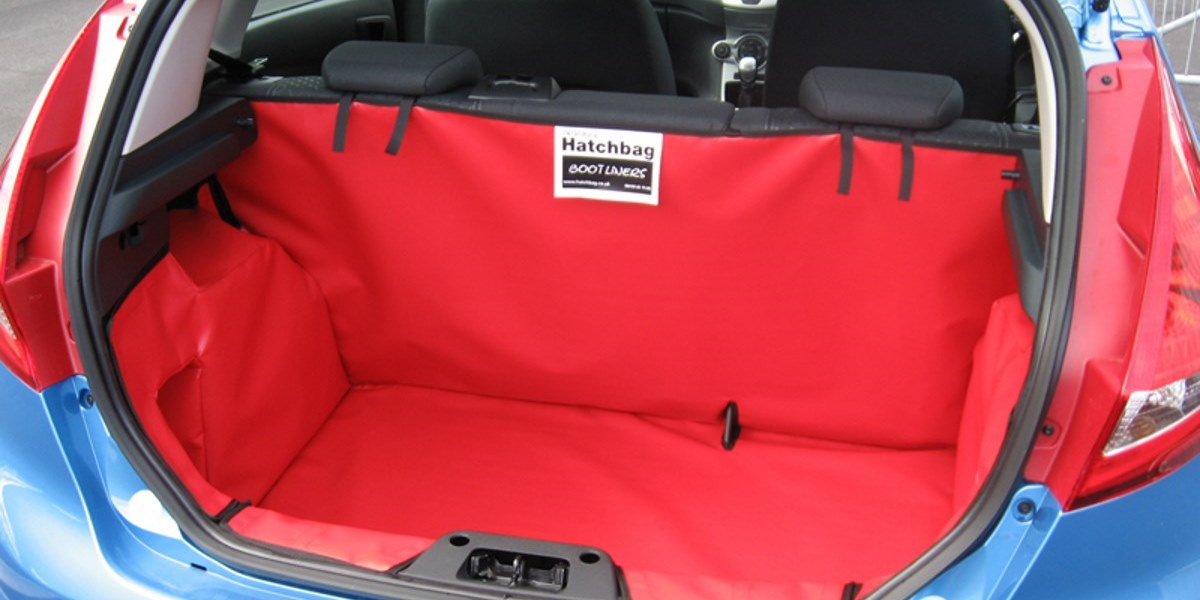
Ford Fiesta Hatch Boot Liner Fitting Instructions
Our ref: H0463
Read offline: Download PDF
PACKING REQUIREMENTS
Bootliner
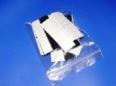
Minimum of 11 Self adhesive loop fastener tabs
Rear door cover
Minimum of 20 Self adhesive loop fastener tabs
VERY IMPORTANT PREPARATION
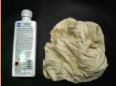
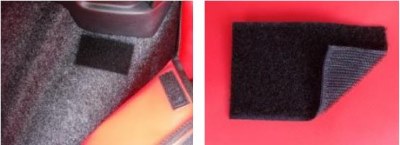
To ensure a good bond, when using the self-adhesive hook & loop fasteners to attach the Bootliner to the plastic / metal trim (Not the carpet); it is most important to remove silicone film from the vehicle trim. Silicone is applied during manufacture and can also be found in many valeting products. It is highly likely there will be a build-up of silicone. Before applying any selfadhesive fastener pads, the surface MUST be thoroughly cleaned using a silicone remover. (The fasteners cannot be used once it has been in contact with silicone). We recommend "Intensive Tar Remover” made by AutoGlym and available from Halfords. Wipe off thoroughly any residue with a separate clean dry cloth. Unfortunately we are unable to supply this product, as it cannot be transported via our postal carrier.
NOTE: the adhesive takes 24hrs to reach full adhesion – do not disturb during.
PREPARATION
- Remove the load cover. It may be replaced later.
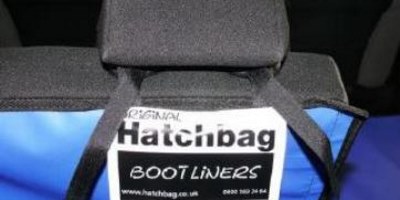
- Unfold the Hatchbag and place in the vehicle so that the base fits snugly in position. The panel with the Hatchbag label sits against the back of the rear seat.
Please note these photos are non-specific to your car.
FITTING
BASE
- Position the base snugly into place. Start behind the back of the rear seats
- The hook fastener welded to the reverse face of the liner will attach directly to the carpet panel.
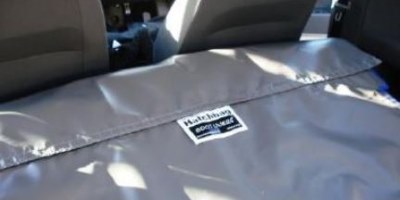
BACK
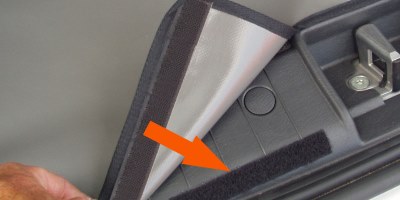
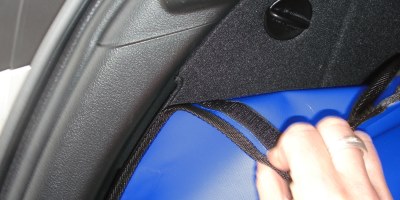
- Use the self-adhesive loop fastener strip to attach the back panel to the tailgate plate.
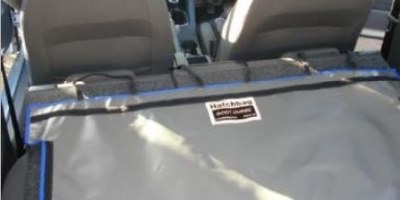
FITTING FRONT
- Hook & loop fastener straps align to headrests.
- Pass around each post and fasten back onto themselves
- Use the cut length self-adhesive loop fasteners to attach the front panel to the rear seats.
REAR PLUS VERSIONS
- YOU MUST UNFASTEN THE HOOK & LOOP FASTENER / THE HEADREST STRAPS BEFORE YOU RECLINE THE REAR SEAT UPPERS ( Please refer to REAR PLUS options on website to see detailed photo’ )
SIDES
- Carefully position the side panels snugly into place.
- The hook fastener patches welded to the reverse face of the liner will attach directly to the carpet panels.
OPTIONAL EXTRAS
FREQUENT USE KIT
If you frequently remove/fit your Boot Liner from/to your vehicle please note that the carpet will “fluff” up – we have an alternative “Frequent Use Fitting Kit”
The Frequent Use Kit is available to buy from our “online” Factory Shop – simply add it to your order from the Factory Shop.
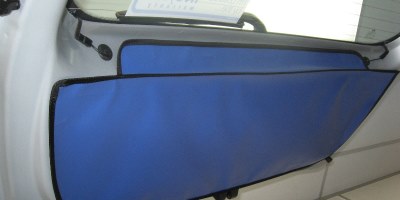
TAILGATE COVER
- Use the self-adhesive loop fastener tabs to attach the cover to the plastic trim.
SEAT FLAP
- The Seat flap is designed to protect the top of your rear seat giving additional protection from drooling dogs etc.
- The Seat Flap can also be used in conjunction with the Rear Plus Option(s). With the rear seats in the folded position the Seat Flap extends the coverage over any exposed section of the seat backs and the headrests
- Attach the Seat Flap to the loop fastener strip that has been manufactured into the Boot Liner just below the top of the rear seats.
- The flap is then placed over the rear head rests and down the back of the passenger seats.
- If the Seat Flap sits over large headrests and obstructs your rear view: carefully create openings in the flap to accommodate the headrest posts
BUMPER FLAP
- Fit Boot Liner
- Attach the Bumper Flap to the loop fastener strip that has been manufactured into the base of the boot liner.
- The Bumper Flap either folds into the vehicle OR can be detached and stored elsewhere when you close the tailgate.
- Please note that the edges of the fabric are not bound so that any mud, dirt or water can run off.