Welcome to Autumn
The autumnal months are here in full force, with the shift in the weather being most notable in the UK. Autumn is representative of change, transformation and preparation. As the autumnal leaves transition into vibrant and striking colours, it makes us feel excitement for new beginnings. It is important to embrace the season, and celebrate all its festivities. Here at Hatchbag, we are seizing the autumnal season, celebrating Halloween and bonfire night, two occasions that are staff favourites. Autumn is also a great time to immerse yourself in the evolving natural landscapes and explore scenic areas that host a good place to hike.

Why our boot liner is perfect for Autumn
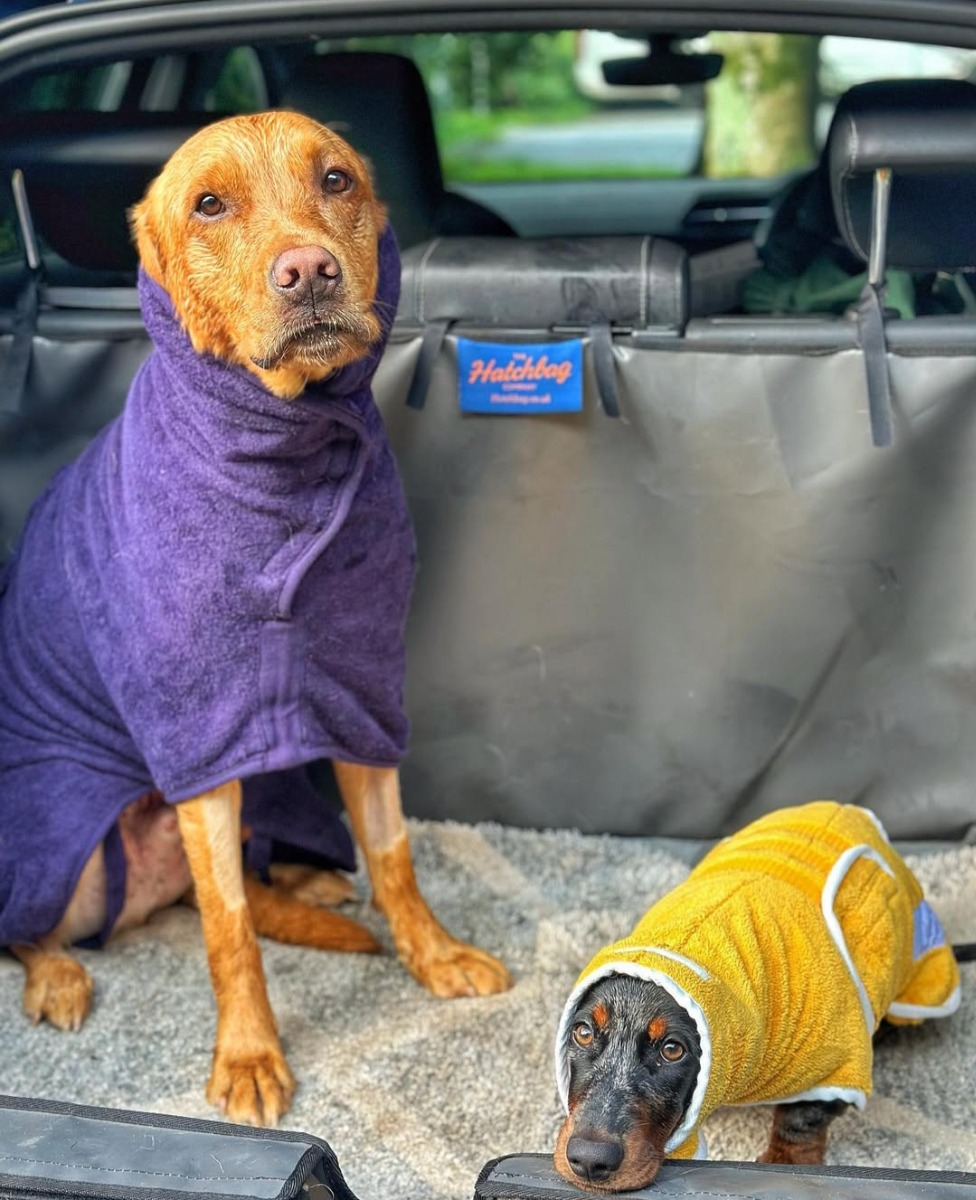
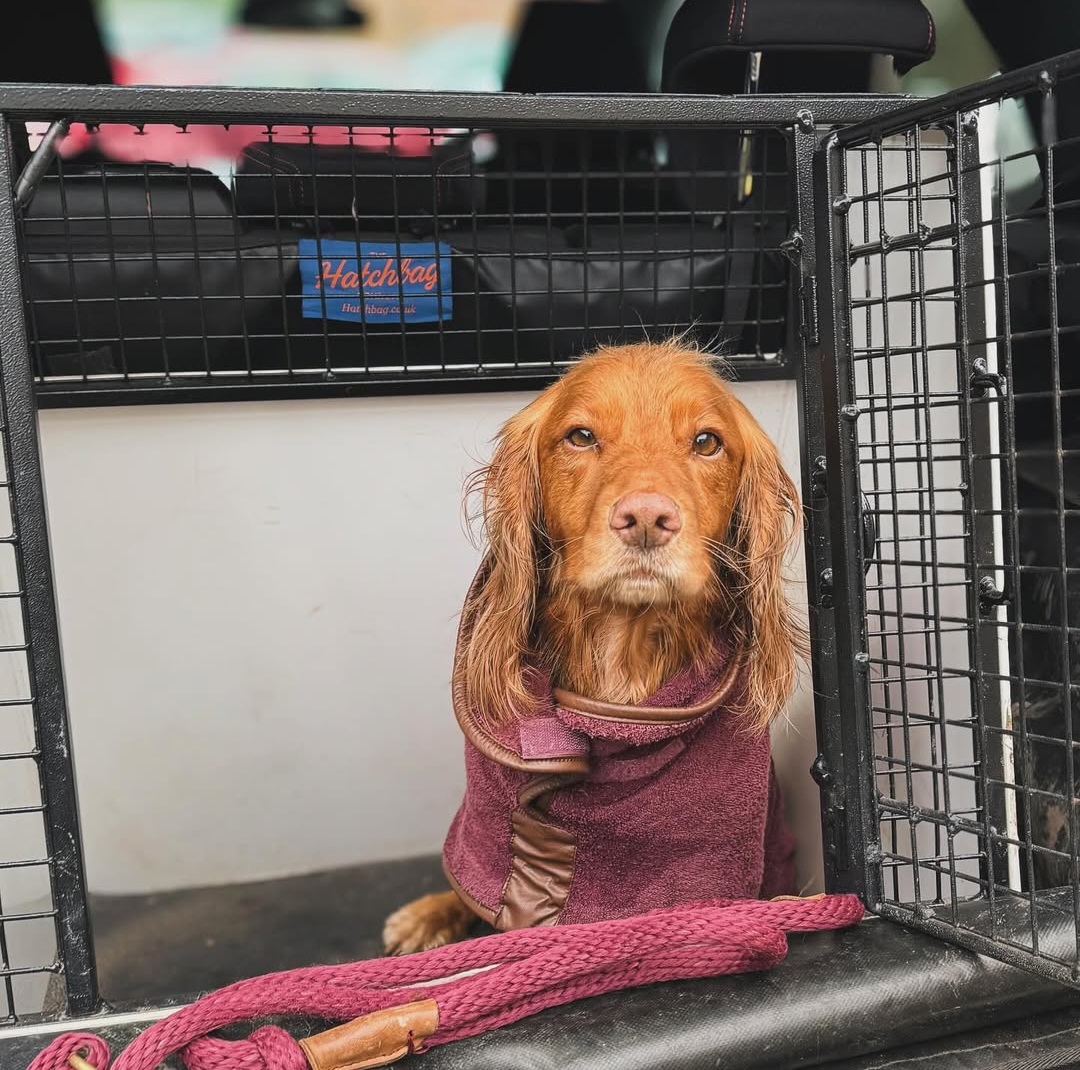
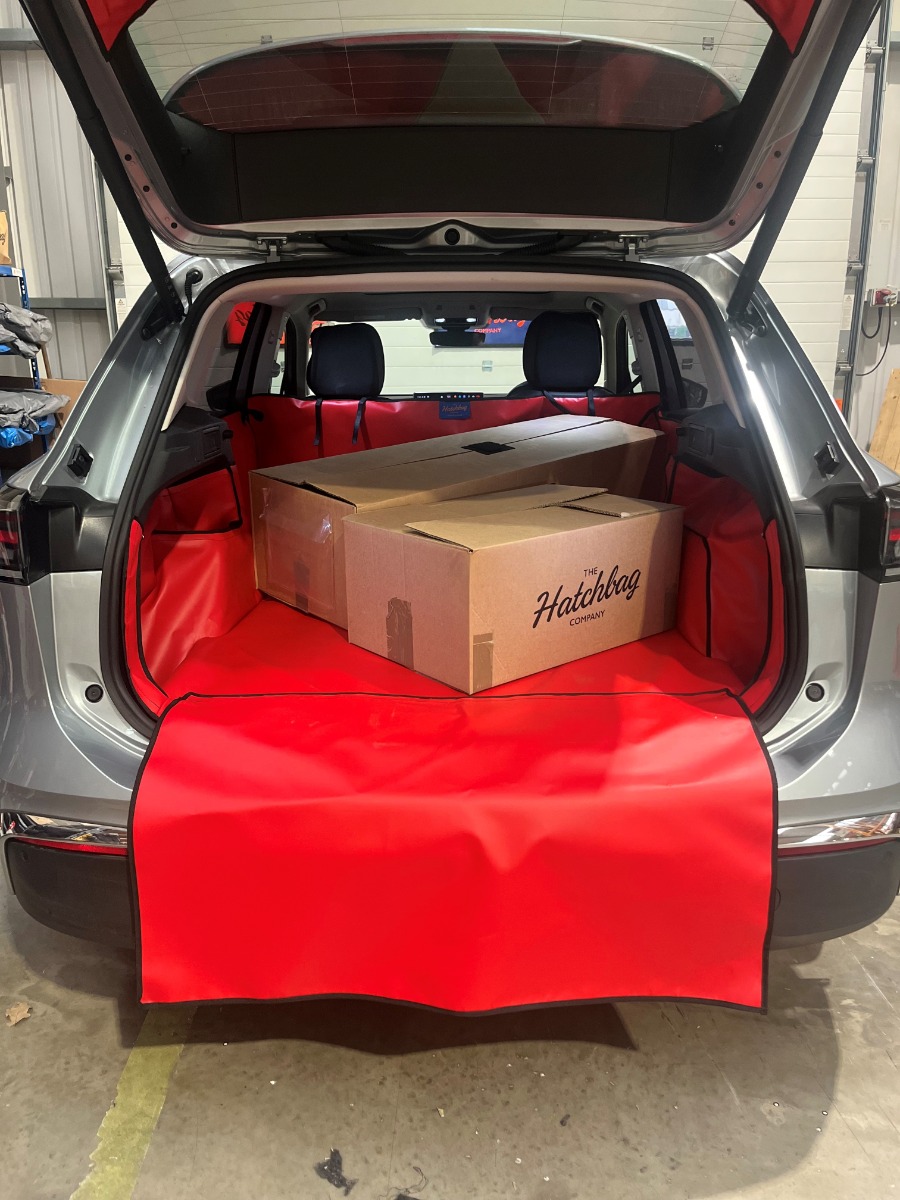
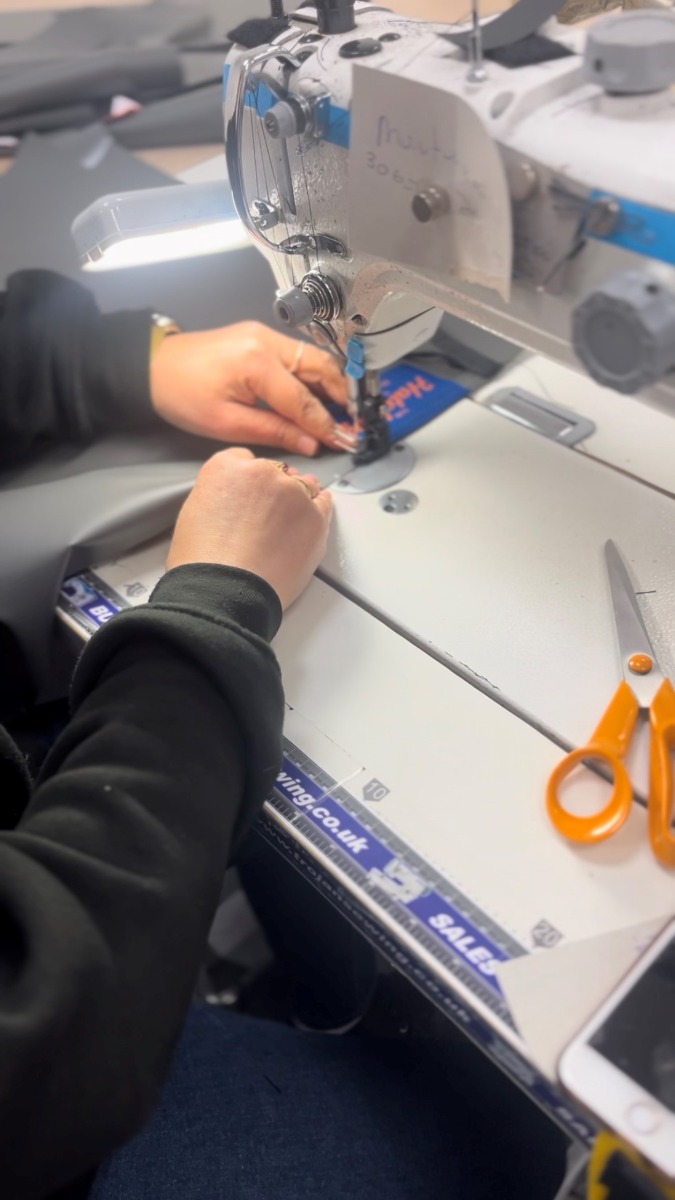
Our boot liners are the perfect companion for your autumn adventures, as we believe the cleanliness of your car is important to keep that ease and relaxation supplied by the new season. Whether it’s muddy walking boots or a smelly dog, our Hatchbag boot liner has you covered. The liner is made out of reinforced PVC, which makes it tear-proof, allowing for heavy hiking equipment to be transported without worrying about your boot becoming exposed. We pride ourselves on the quality standard of our product, and believe your boot should have the constant protection that you desire. In addition to the liner, you can also purchase an odour control mat, perfect for preventing those pet odours from lingering in your car.
Our boot liner, aesthetically, also can allow you to embrace the autumnal spirit, and match the oranges, reds and browns that are so prominent in nature. We offer our boot liners in a variety of colours, including those autumnal shades, allowing your car to have a seasonal feel. We showcase our range of colours on our Instagram and Facebook, so feel free to have a browse and see if our autumnal colours would compliment your car.
The most notable shift we see when we get to the later months of the year is the drop in temperatures and rise in rainfall. It is so important to explore the outdoors this season, but we understand that your car can suffer during these months. Without the sunshine drying your pets off, your car gets the brunt of your muddy return. We make our boot liners catering to customer wants and needs.
When cleaning your liner, it remains in the boot, making your job easier and quicker. The boot liner isn’t machine washable, however, cleaning your liner with simple cleaning products in the boot itself saves time and water. You can get rid of all that mud and grime quickly and efficiently. We want the journeys to your autumnal adventures to be easy. At Hatchbag, we take away the worry of your messy boot and guarantee full protection for your car’s interior.
The Great Outdoors
Enjoying the great outdoors is essential for these months as nature is beautiful and ever-changing at this time. After a brisk walk, a forest trail or mountainous hike, the Hatchbag boot liner is the perfect accessory to maintain your clean car. Whether it’s dirt covered walking boots or a muddy dog, our boot liner protects your car from the inevitable dirt in these colder and wetter months.
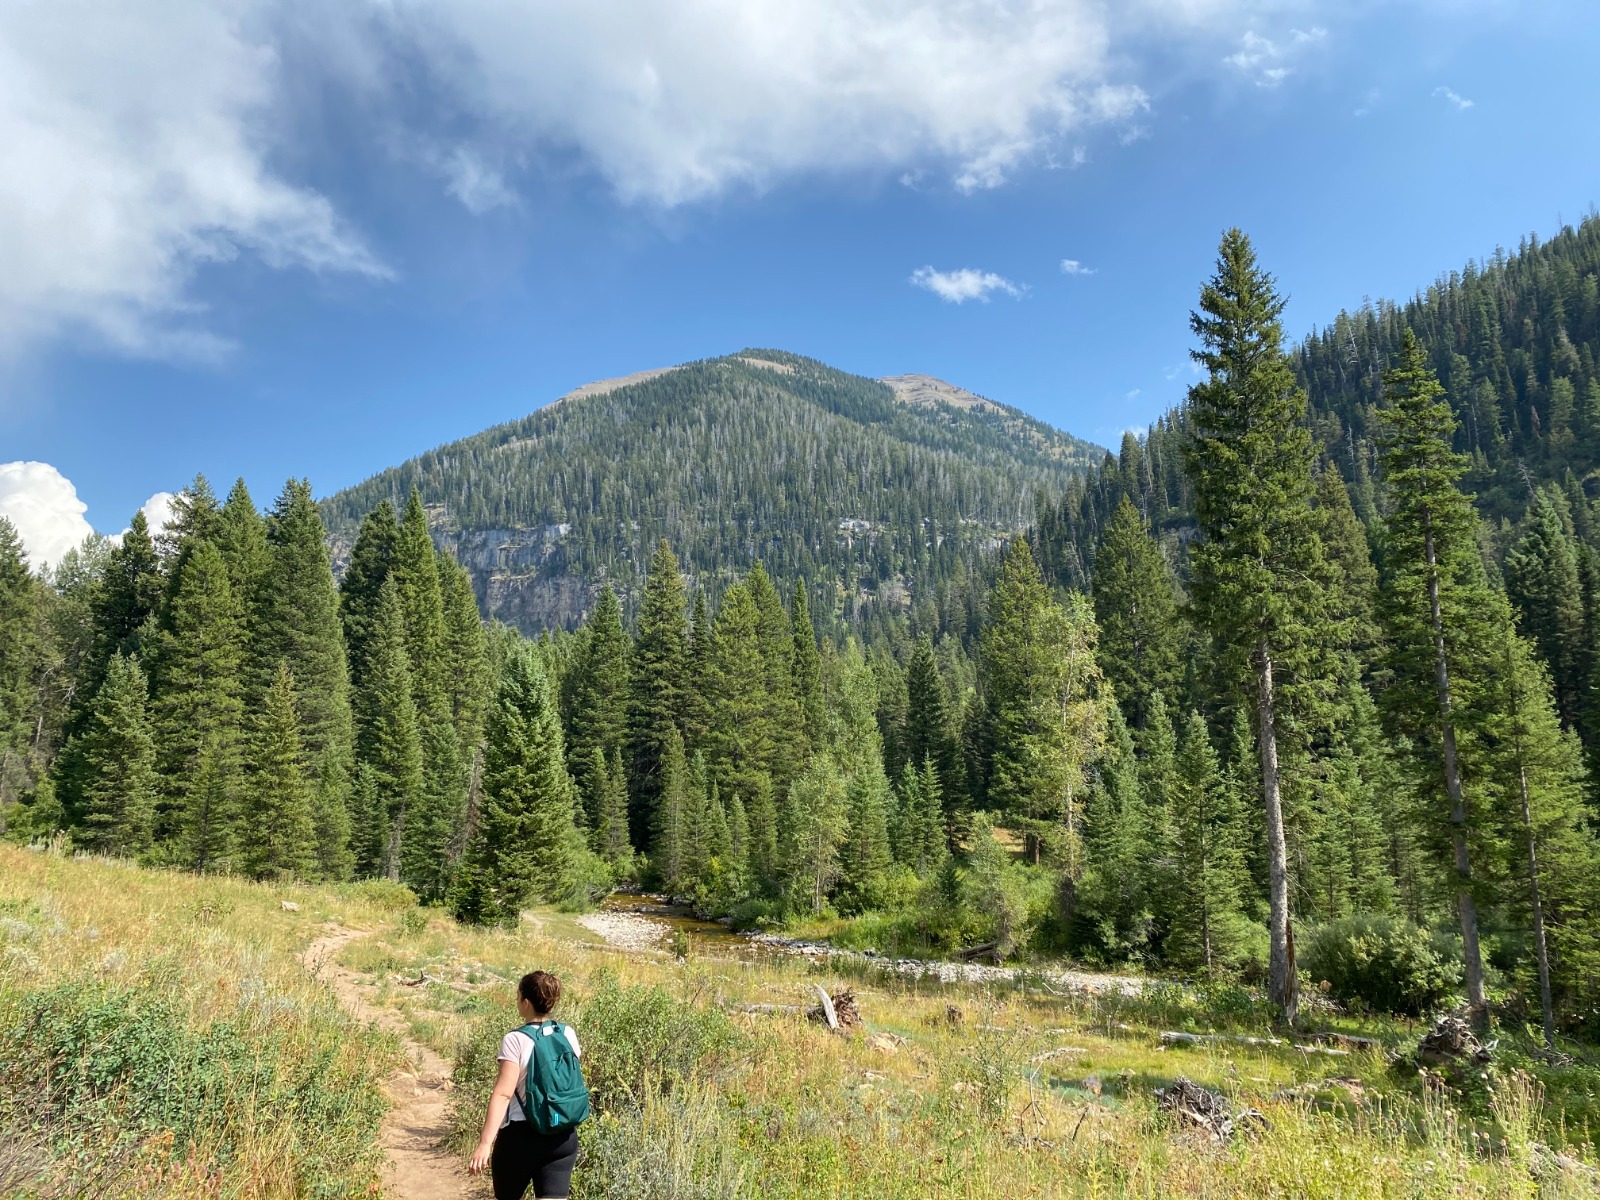
At Hatchbag, we are all lovers of the great outdoors and exploring nature. The crisp air filled walks and the stunning views allows us to feel relaxed, at ease and a sense of inner peace. It is so important to take breaks from the virtual world and enjoy nature, with the autumnal season being the perfect host for striking natural sights. Hiking not only allows you to connect with nature, but is a social activity that can be enjoyed with friends and family. Being outside in the fresh air is important for us, as it makes us feel better and happier. We would love to recommend some of our favourite walking routes and National Trust properties in the UK, so you can plan your adventures outdoor this season.
Embracing this season is so important and we would love to hear all about your adventures. Send us photographs of your autumnal adventures on our Facebook and Instagram, we would love to see what you get up to!
Hatchbag Approved Hikes and Locations
With autumn being such a great time of year to explore and appreciate nature, the Hatchbag team would like to share some fantastic areas for hikes, and also some National Trust properties that can be a warm and cosy shelter for the unpredictable weather. The UK’s natural landscape is unique, picturesque and vast. Exploring this and appreciating your time in nature is a nice way to change up your usual routine. Here are some of our favourite hikes/ walks and National Trust properties
Dovestone Reservoir, Saddleworth, Greater Manchester
Potter around the reservoir of hike up to see stunning scenery, Dovestone accommodates to all. Located in the beautiful hills of Saddleworth, Dovestone is a great place to take your dog and take in the beautiful landscape it is surrounded by.
Lyme Park, Stockport
Lyme Park is a beautiful location to walk around and immerse yourself in history, with tours of the house and gardens running through Autumn. The 1400 acres of parkland that surrounds the house is full of wildlife and beautiful views, perfect for observing the change in season.
Bolderwood, Lyndhurst, Hampshire
Located in the New Forest National Park, Bolderwood is a great place to not only walk, but see some interesting wildlife. You can watch Fallow deer in their natural habitat from the viewing platform and appreciate the biodiversity that Bolderwood has to offer.
Sherwood Pines, Sherwood Forest, Nottinghamshire
Sherwood Pines has a Gruffalo trail and Robin Hood Hideout play area, perfect for keeping your kids entertained in the great outdoors. With mountain bike courses and stunning views, this location caters to all.
Hardcastle Crags, Hebden Bridge, West Yorkshire
This beautiful wooded valley is great for observing the natural landscape. It boasts waterfalls, streams and 15 miles of footpaths, perfect for an autumnal adventure. At the centre of the woodland, Gibson mill is located, a unique mill where you will find the Weaving Shed Café.